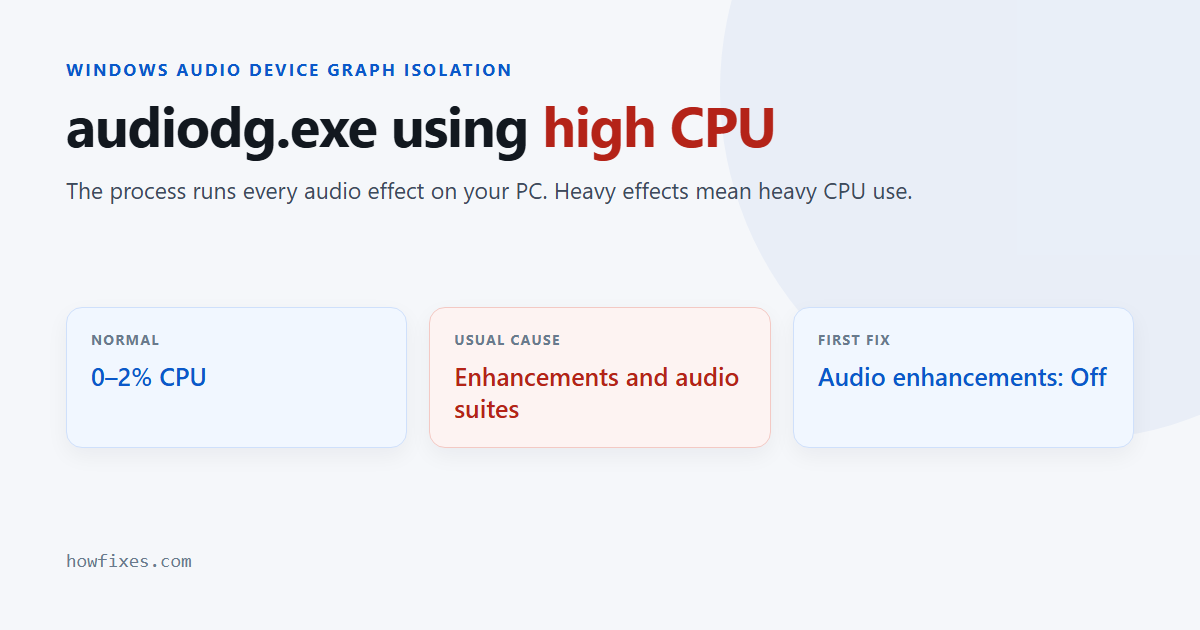
audiodg.exe is Windows Audio Device Graph Isolation, the process that applies effects to sound before it reaches your speakers or headphones. It normally sits at 0–2% CPU. When you see audiodg.exe high CPU usage — 10%, 20% or more that does not settle — the cause is almost always an audio effect or enhancement layered on top, not Windows itself.
Here is how to confirm the process is genuine, then seven fixes in the order most likely to work.
Checked September 2026. Applies to Windows 11 and Windows 10 22H2. Menu paths for both are given.
What audiodg.exe does
Windows runs audio processing in its own process, separate from the Windows Audio service, so that a faulty effect from a sound card maker cannot crash the whole audio system. Everything that alters sound — equalisers, virtual surround, loudness levelling, microphone noise suppression from your sound driver — runs inside audiodg.exe. That is why it is the process that shows the load, even when the real cause is a driver or an audio app. Microsoft calls these effects audio processing objects, and each one adds work for every second of sound.
So audiodg.exe high CPU usage is a symptom: the fix is to find which effect is doing the work.
First, check it is the real file
Malware sometimes borrows the names of system processes. In Task Manager, right-click audiodg.exe (or Windows Audio Device Graph Isolation) and choose Open file location. It should open C:\Windows\System32.
If it opens anywhere else, stop here and run a full scan in Windows Security → Virus & threat protection → Scan options → Microsoft Defender Offline scan. The same check applies to any system-looking process; see is SearchApp.exe a virus? for another example.
1. Turn off audio enhancements
This fixes the majority of cases on its own.
Windows 11: Settings → System → Sound → select your output device → set Audio enhancements to Off.
Windows 10: press Win + R, type mmsys.cpl, press Enter → double-click your playback device → Enhancements tab → tick Disable all enhancements (on some drivers, Disable all sound effects on the Advanced tab).
Repeat for your microphone under Input or the Recording tab — voice effects are a common culprit during calls.
2. Turn off spatial sound
Windows Sonic, Dolby Atmos for Headphones and DTS Sound Unbound all process audio in real time. On the same device page in Settings, set Spatial sound to Off (Windows 10: the Spatial sound tab in mmsys.cpl).
3. Lower the audio format
A very high sample rate multiplies the work every effect has to do. On the device page, find Format (Windows 10: Advanced tab → Default Format) and choose 24 bit, 48000 Hz. That is the standard for video and games; nothing you can hear is lost.
4. Remove or disable audio software
Many laptops and headsets come with audio suites that add their own processing — Nahimic, Sonic Studio, Dolby Access, the effects in Realtek Audio Console, or headset software with virtual surround. These are the most common cause of persistently high usage, and some keep processing even when their effects look switched off.
- Open the suite and turn its effects off, then check Task Manager.
- If usage stays high, uninstall it from Settings → Apps → Installed apps and restart.
You can reinstall it later from the manufacturer’s site if you miss a feature.
5. Update — or roll back — the audio driver
- Open Device Manager.
- Expand Sound, video and game controllers.
- Right-click your audio device and choose Properties → Driver.
- If the problem began recently, select Roll Back Driver. Otherwise, get the latest driver from your PC or motherboard maker’s support page.
To rule the driver out completely, switch to Microsoft’s generic one: Update driver → Browse my computer for drivers → Let me pick from a list → High Definition Audio Device. It has no extra effects, so if the high CPU disappears, the maker’s driver was the cause.
6. Restart the Windows Audio service
If usage climbs slowly over hours, or memory use keeps growing, restarting the audio service resets audiodg.exe without a reboot. From an administrator Terminal:
net stop audiosrv
net start audiosrv
Sound drops for a second and comes back. If this helps only temporarily, one of the steps above is the real fix.
7. Reset sound settings
If you have changed many settings over time and are not sure what is active, return them to defaults. Our guide to resetting sound settings in Windows covers each method.
When audiodg.exe high CPU use is normal
| CPU use | Meaning |
|---|---|
| 0–2%, idle or playing music | Normal |
| Brief spikes when sound starts | Normal |
| 3–8% during calls or games with effects | Acceptable, but effects are running |
| 10% or more, sustained | An effect, suite or driver problem — use the steps above |
| High even when nothing is playing | Almost always third-party audio software |
Frequently asked questions
Can I end or disable audiodg.exe?
You can end it in Task Manager, but sound stops and Windows starts it again the next time anything plays. It cannot be disabled without breaking audio. Fix the effect that is loading it instead.
Why does audiodg.exe use CPU when nothing is playing?
Some audio suites and headset apps keep the audio pipeline open permanently, so their effects run continuously. Removing that software is usually the fix.
Is audiodg.exe a virus?
The genuine file in System32 is part of Windows and signed by Microsoft. A copy anywhere else deserves a full offline scan.
Does Discord or a game cause it?
Only indirectly. Apps’ own noise suppression runs in the app itself, but calls and games trigger the sound driver’s effects, which run in audiodg.exe. That is why usage often rises during calls.
If none of this helps and another process is also misbehaving, our guide to MoUSO Core Worker high CPU covers a different common cause. For audiodg.exe high CPU itself, turning off enhancements and third-party audio effects resolves the great majority of cases.